Google Ads Setup
Esta página aún no está disponible en tu idioma.
This guide walks through everything you need to run Google ads from graph8: preparing your Google Ads account, connecting it, launching a campaign, and checking the results inside Google Ads.
Before You Start: Google Ads Requirements
To launch Google campaigns from graph8 you need:
- A Google account (Gmail or Google Workspace)
- A Google Ads account with billing set up
- Access to the Google Ads account for the Google user who connects graph8. Users are managed under Admin → Access and security inside Google Ads; only users with Admin access can invite others
Create a Google Ads Account
If you do not have an account yet:
- Go to ads.google.com and click Start now, signing in with your Google account
- Enter your business name and website URL
- Google pushes you toward creating your first campaign, but you can skip all campaign recommendations and create an account without a campaign. Look for the skip option; this gives you a standard account without forcing a Smart campaign
- Select your Billing country and time zone
- Enter payment details (card, PayPal, or bank, depending on country) and click Submit
Find Your Customer ID
Your customer ID identifies the Google Ads account. Sign in to Google Ads and click your profile picture in the top right corner; the customer ID is displayed there. Keep it handy when working across multiple accounts.
Connect Google Ads to graph8
- Go to Studio → Content → Ads → Campaigns
- Click Create Campaign
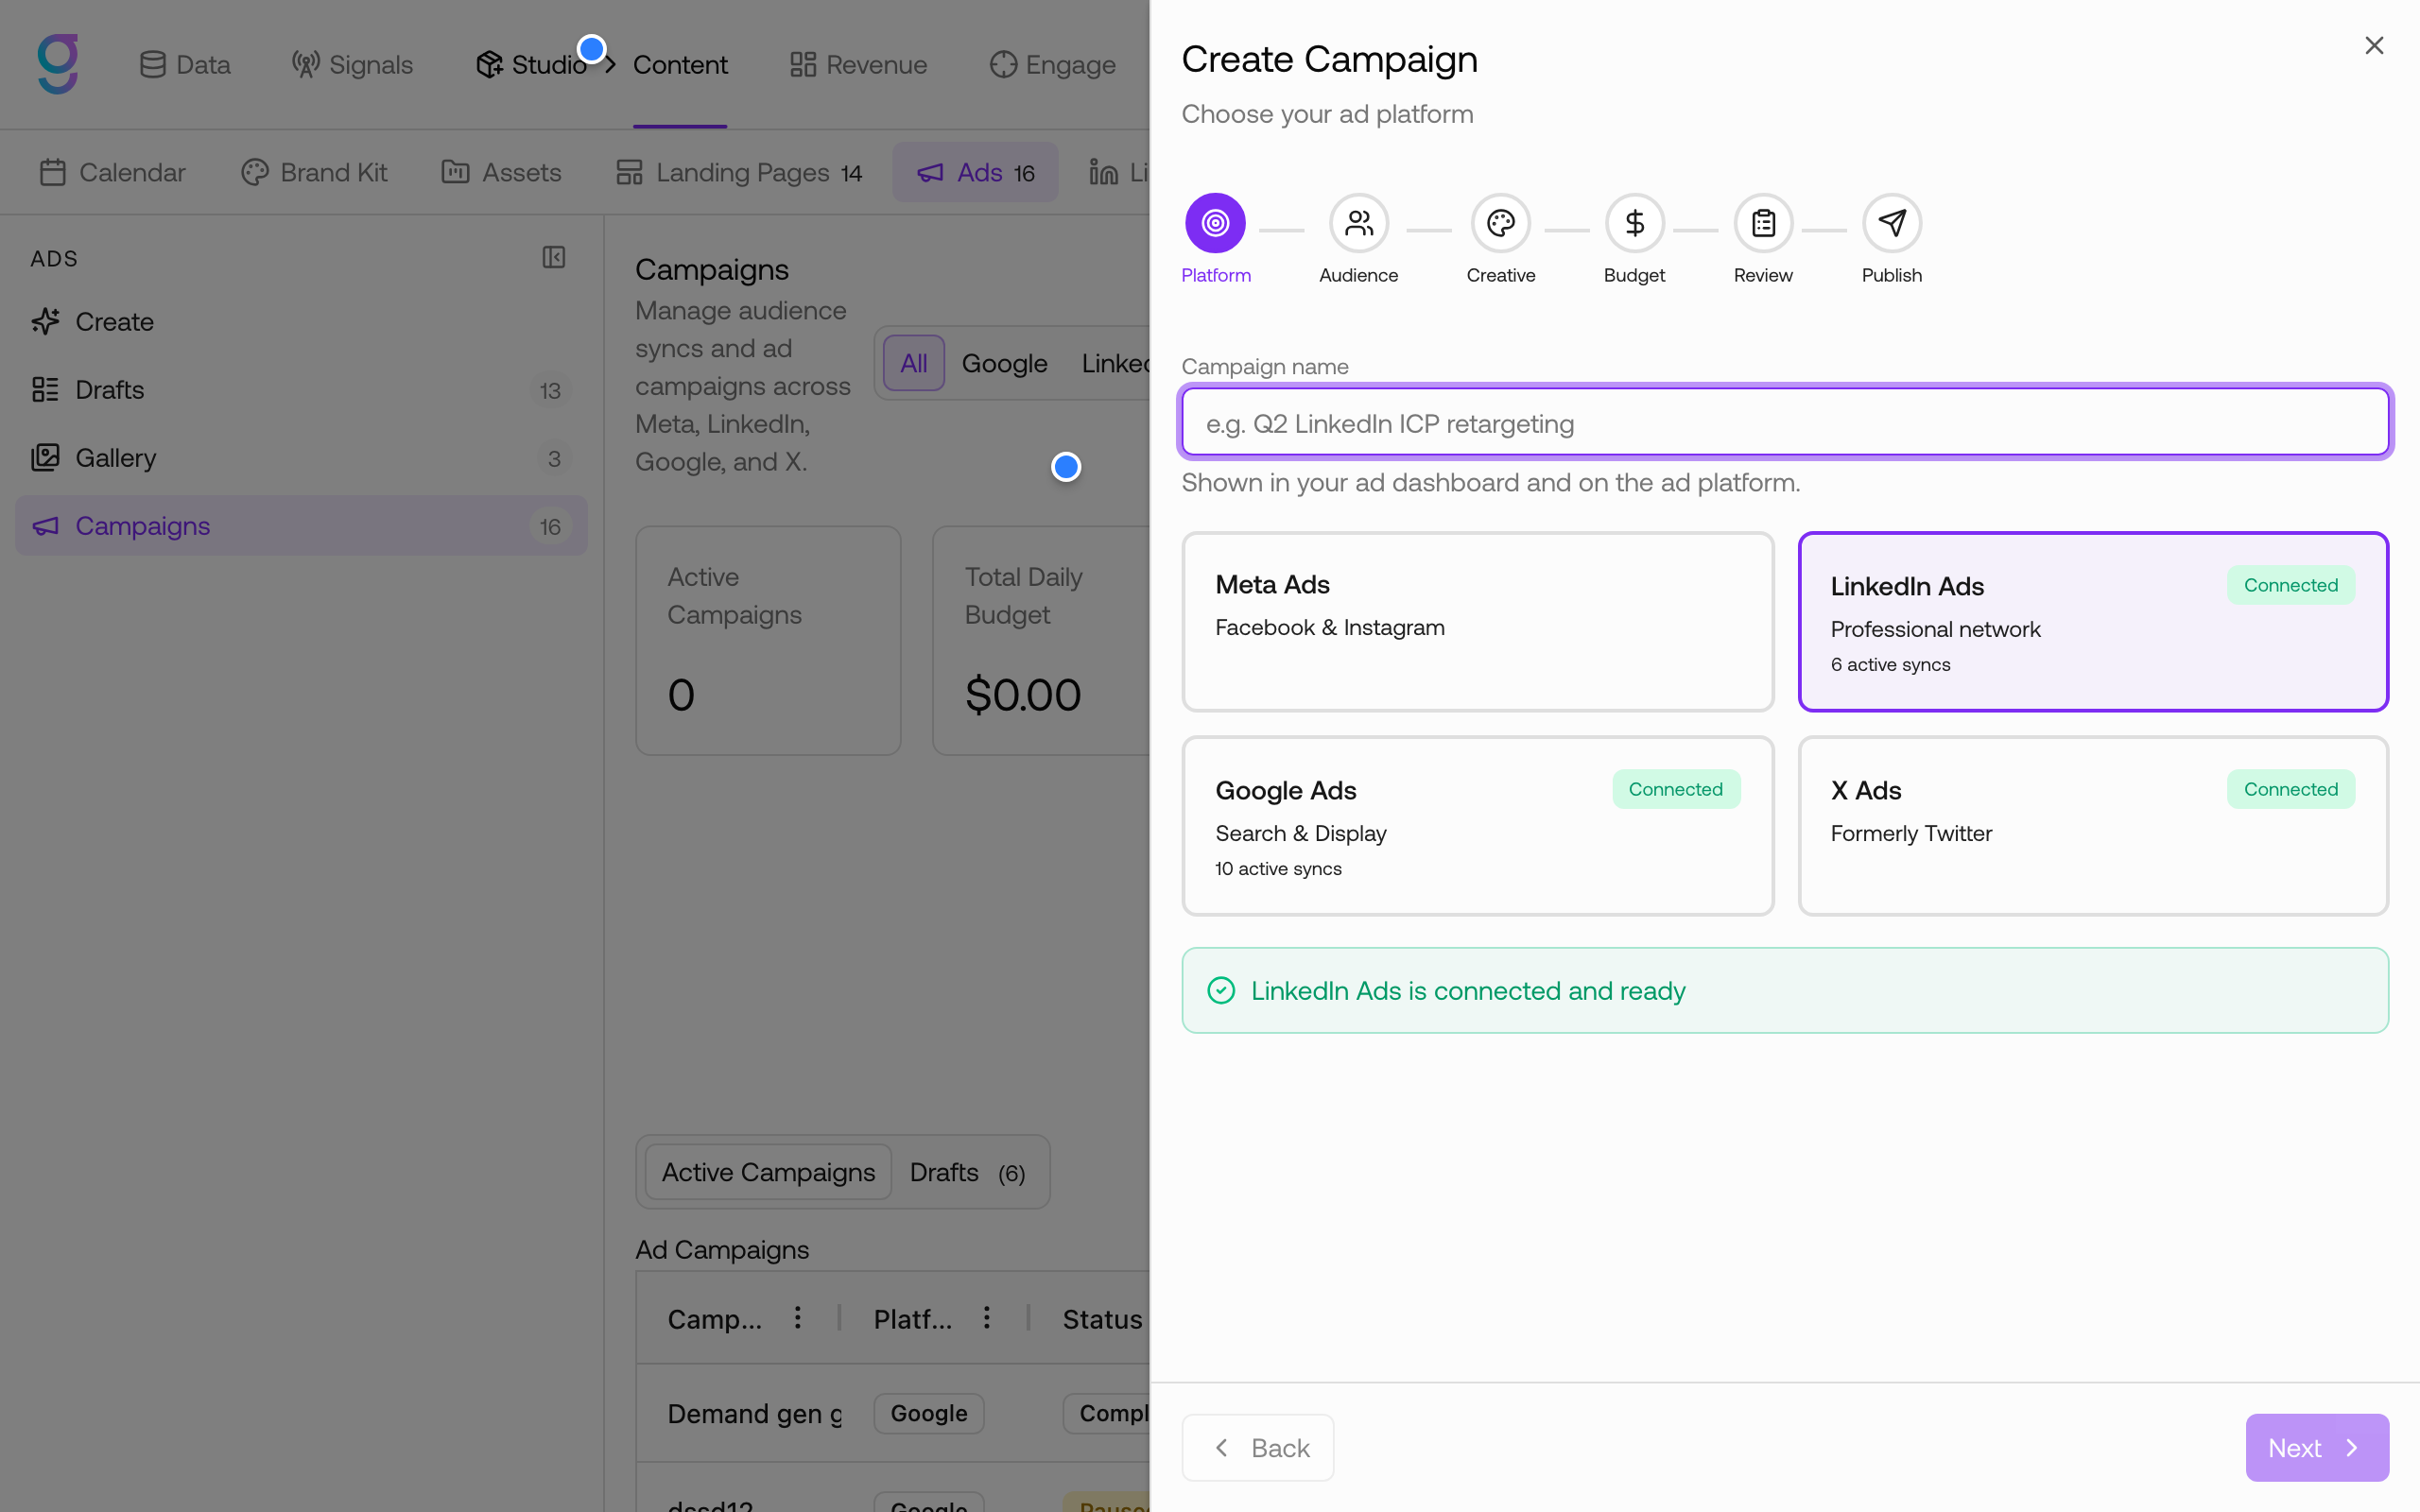
- On the Platform step, select the Google Ads card
- If the account is not connected yet, click Connect. A Google authorization window opens: pick the Google account that has access to your Google Ads account and approve the consent screen
- Once authorized, the card shows a green Connected badge
Design Your Google Ad
Create the ad creative first in Studio → Content → Ads → Create (see the Ads guide). Google supports three formats:
| Format | Aspect ratio | Recommended size |
|---|---|---|
| Landscape (Responsive) | 1.91:1 | 1200 × 628 |
| Square (Responsive) | 1:1 | 1200 × 1200 |
| Portrait (Demand Gen) | 4:5 | 960 × 1200 |
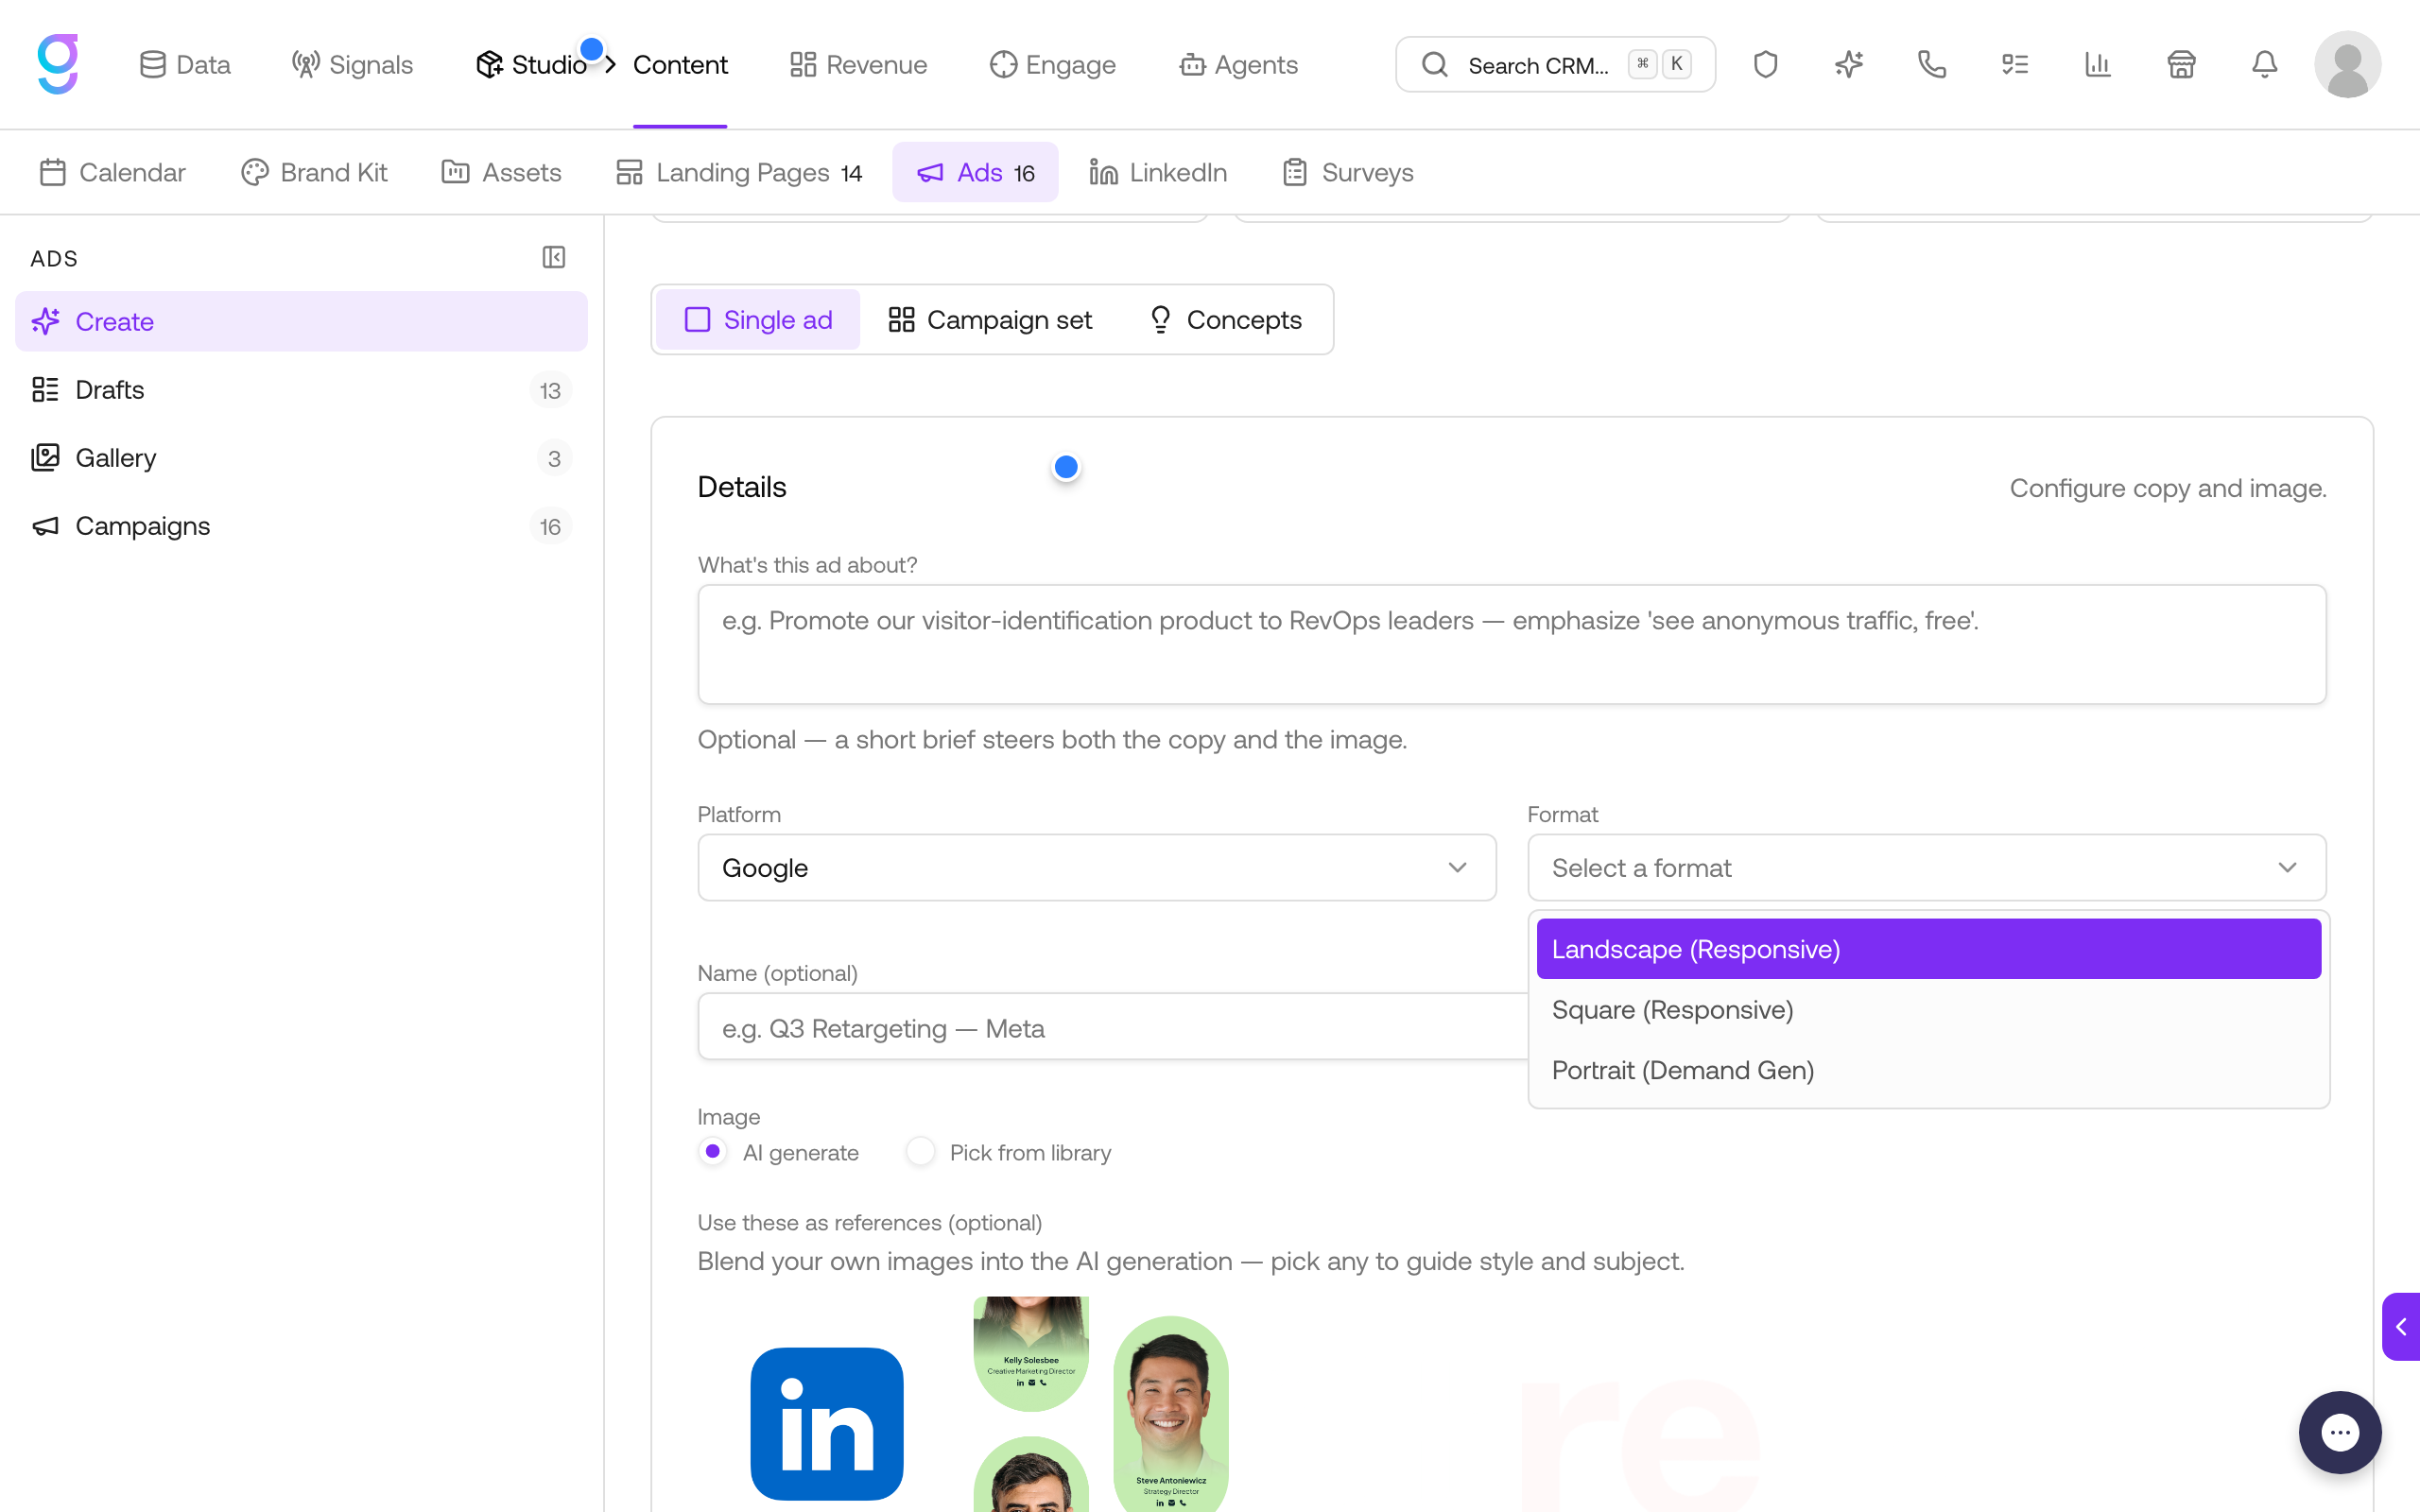
graph8 keeps the copy within Google’s limits (30-character headlines and 90-character descriptions for responsive display ads) and restricts the call to action to Google’s preset options; Google does not allow free-text buttons on responsive ads.
When the creative is done, click Finalize → Gallery so the campaign wizard can pick it up.
Launch a Google Campaign
Go to Studio → Content → Ads → Campaigns and click Create Campaign. The wizard has six steps.
1. Platform
Enter a Campaign name (shown in your graph8 dashboard and inside Google Ads) and select Google Ads.
2. Audience
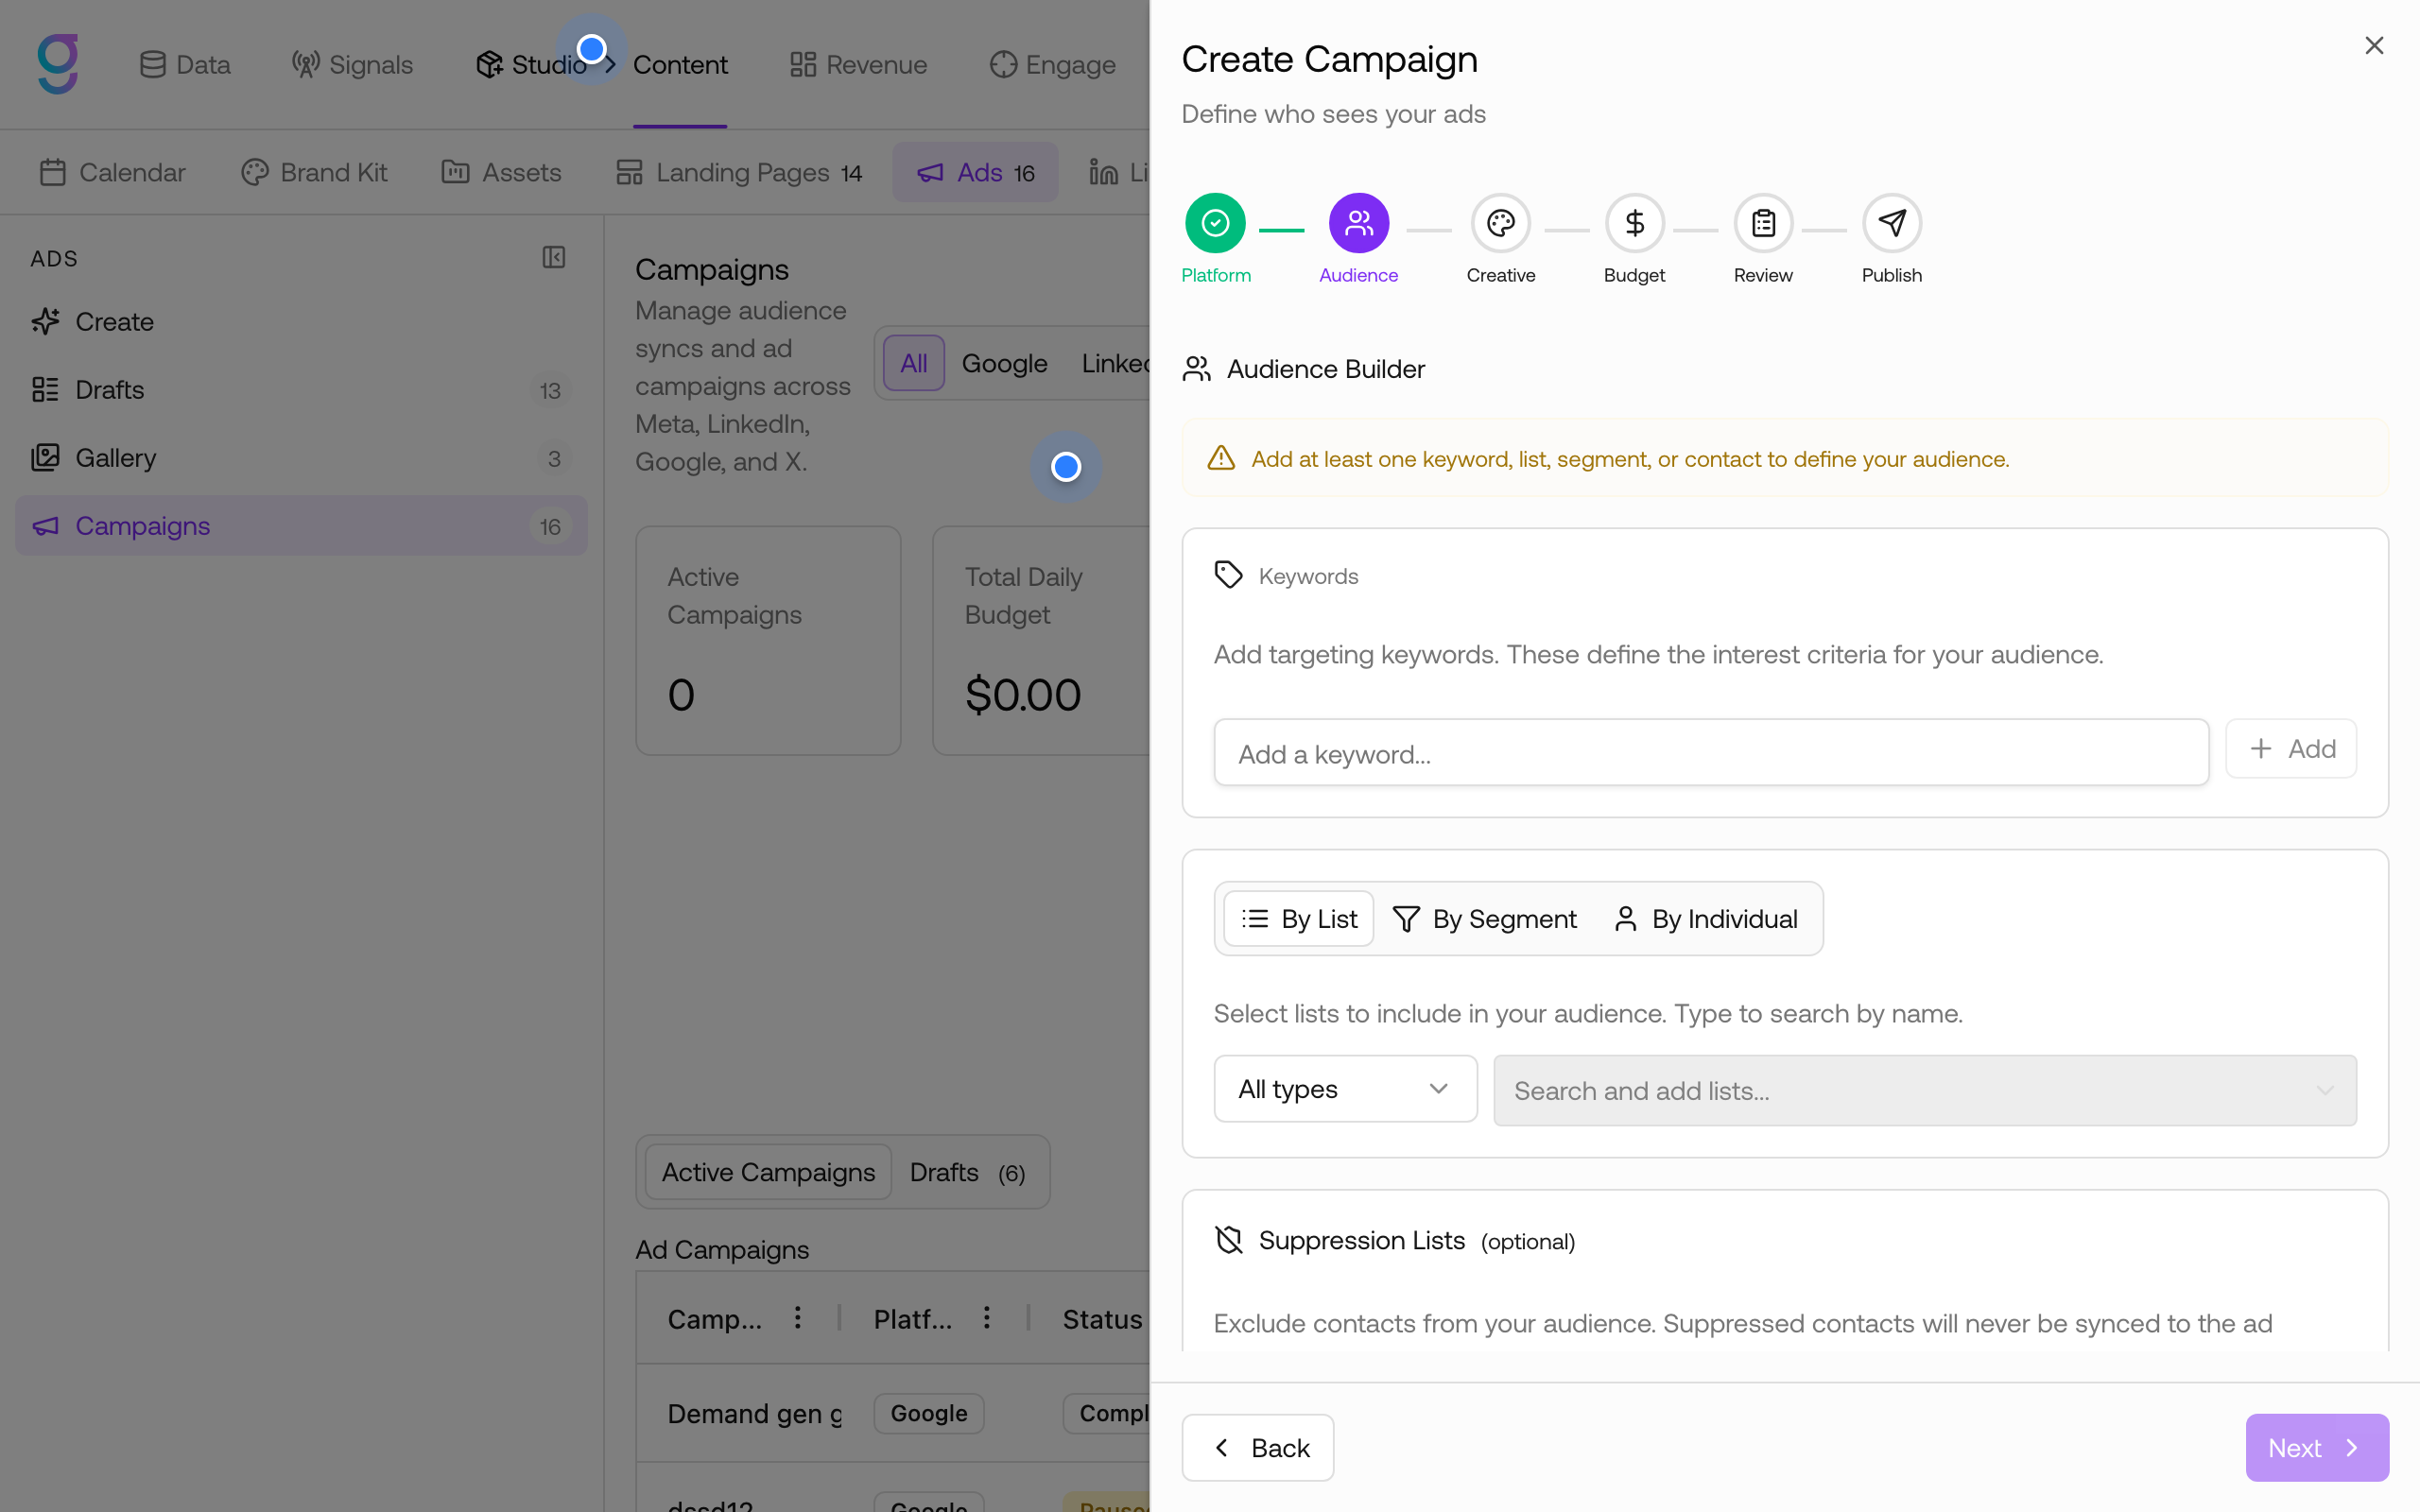
Define who sees your ads with the Audience Builder:
- Keywords: add targeting keywords that define interest criteria
- By List / By Segment / By Individual: include contacts from your graph8 lists, segments, or hand-picked people
- Suppression Lists (optional): exclude contacts; suppressed contacts are never synced to the ad platform
Add at least one keyword, list, segment, or contact to continue. graph8 syncs matched contacts to Google as a Customer Match audience using securely hashed identifiers.
3. Creative
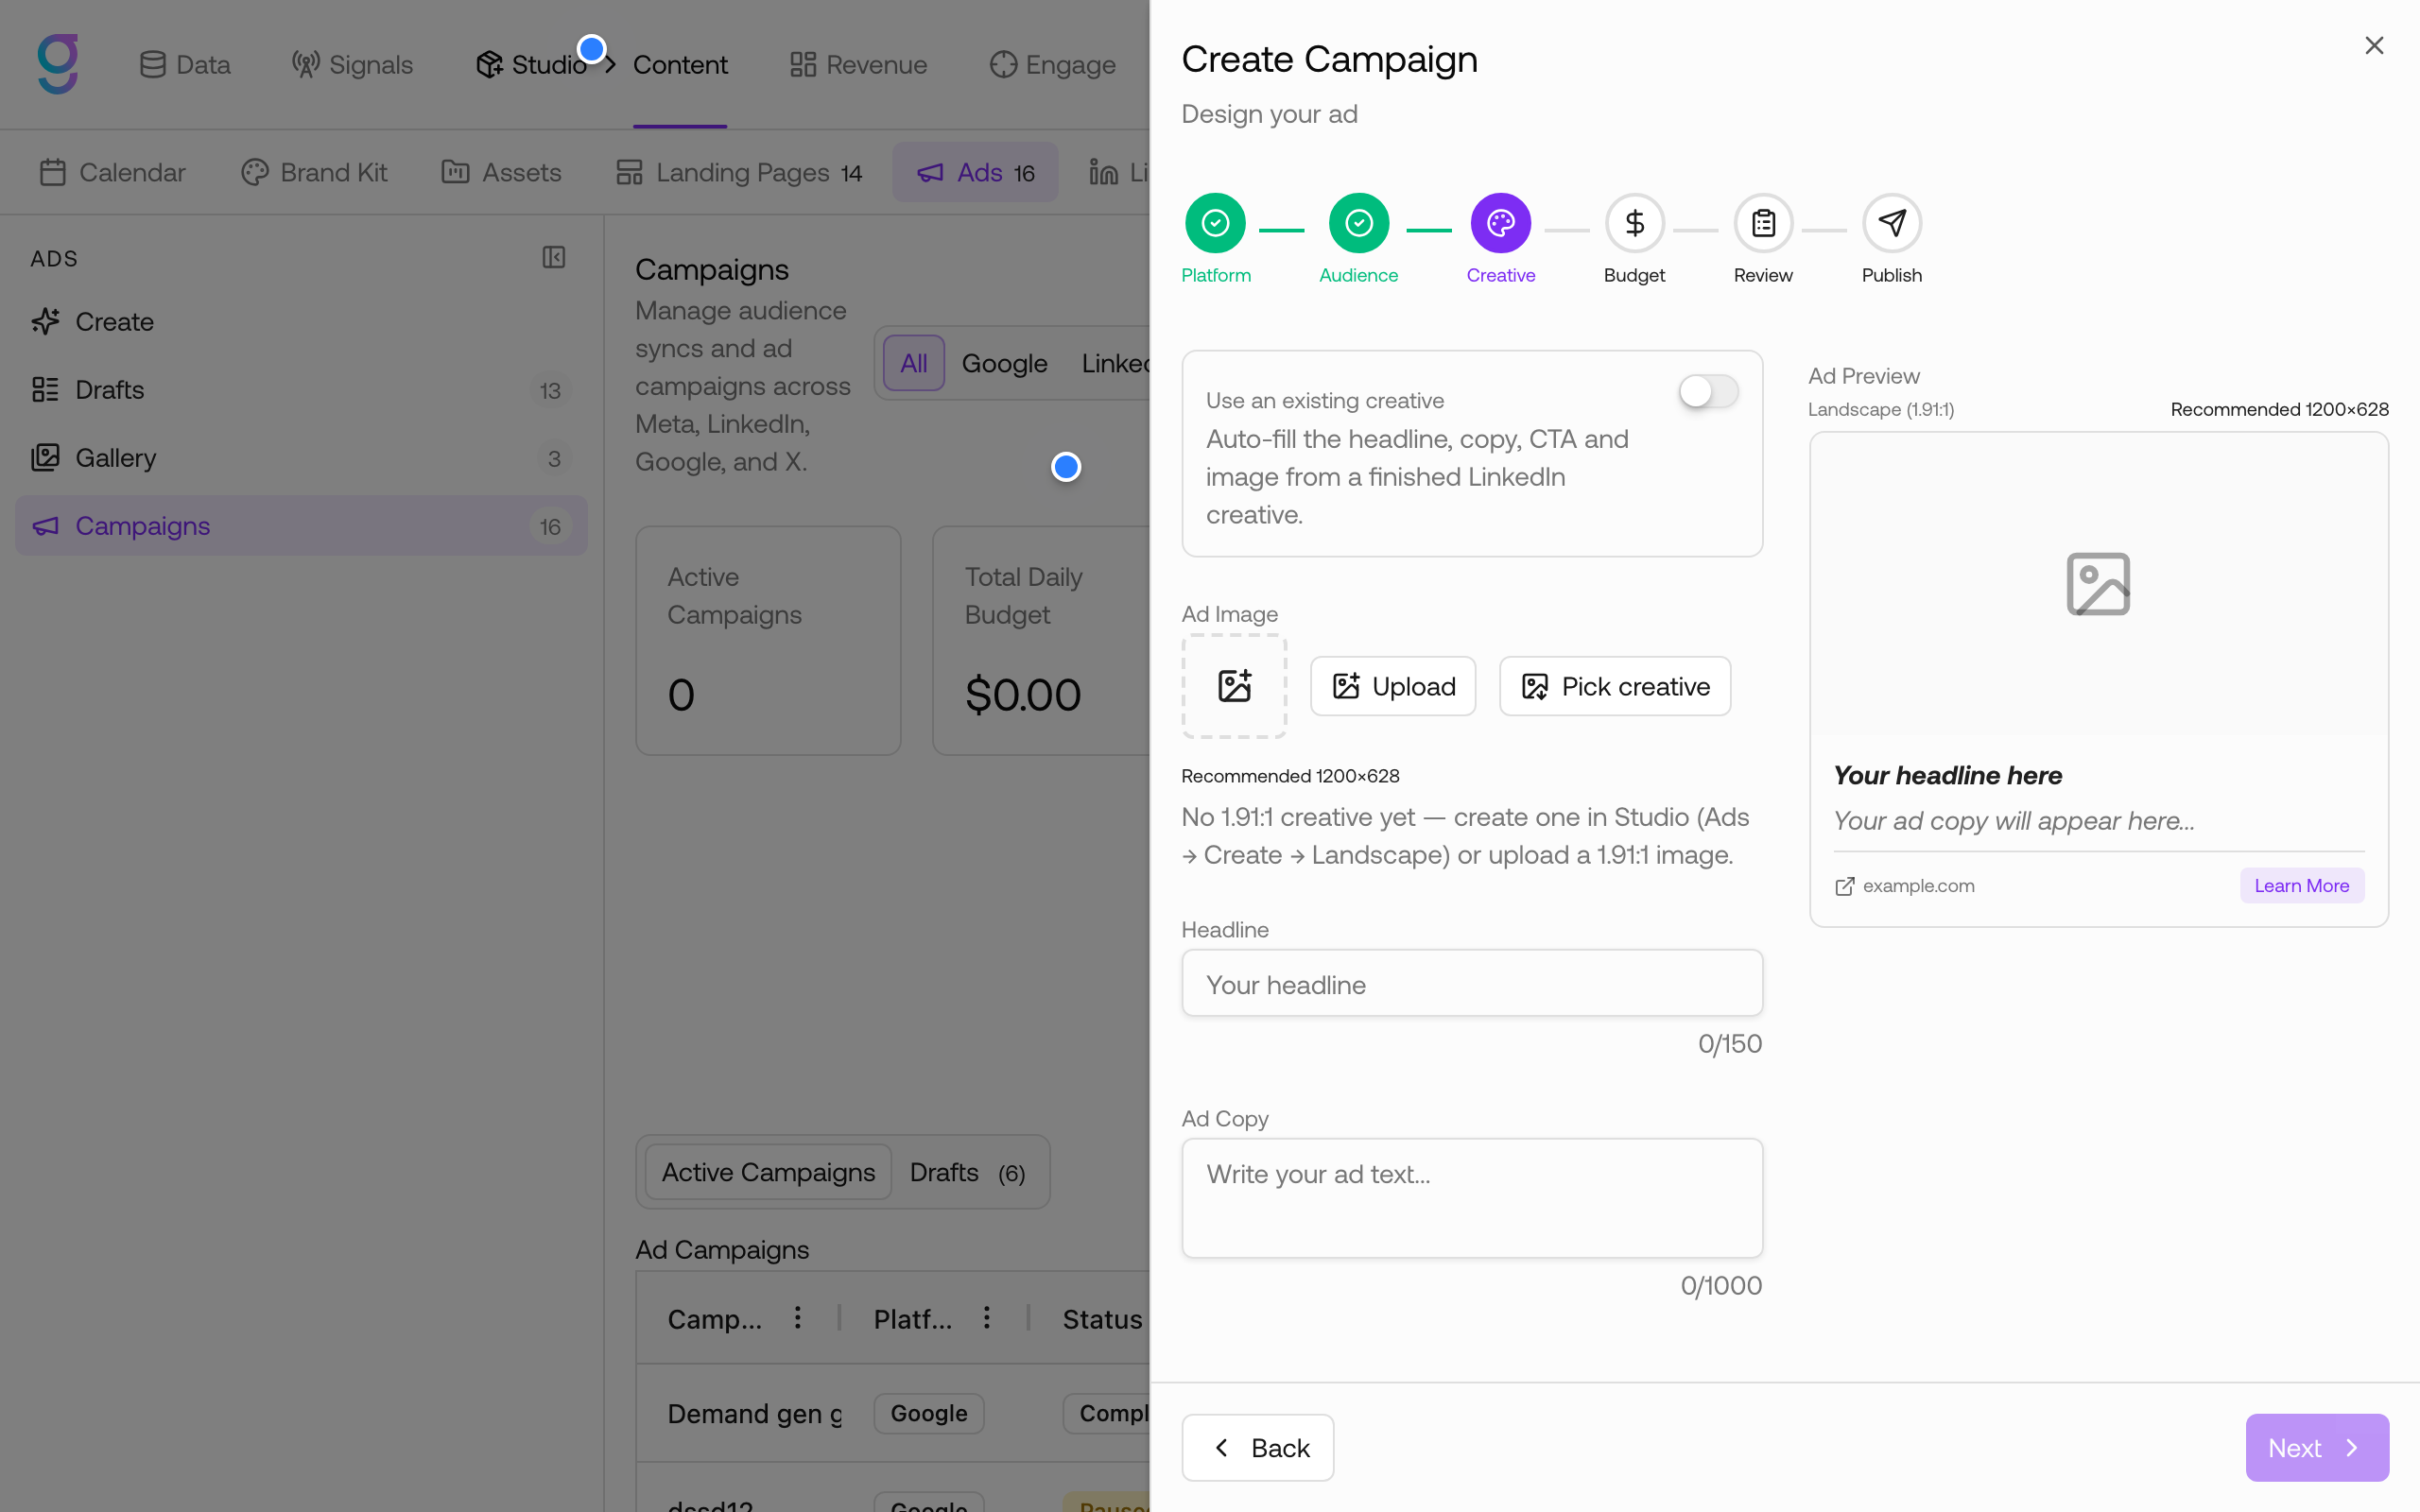
Design the ad content:
- Toggle Use an existing creative to auto-fill the headline, copy, call to action, and image from a finished Google creative in your gallery
- Or fill the fields manually: Ad Image (upload or pick a creative), Headline, Ad Copy, call to action, and destination URL
The live Ad Preview on the right shows how the ad renders.
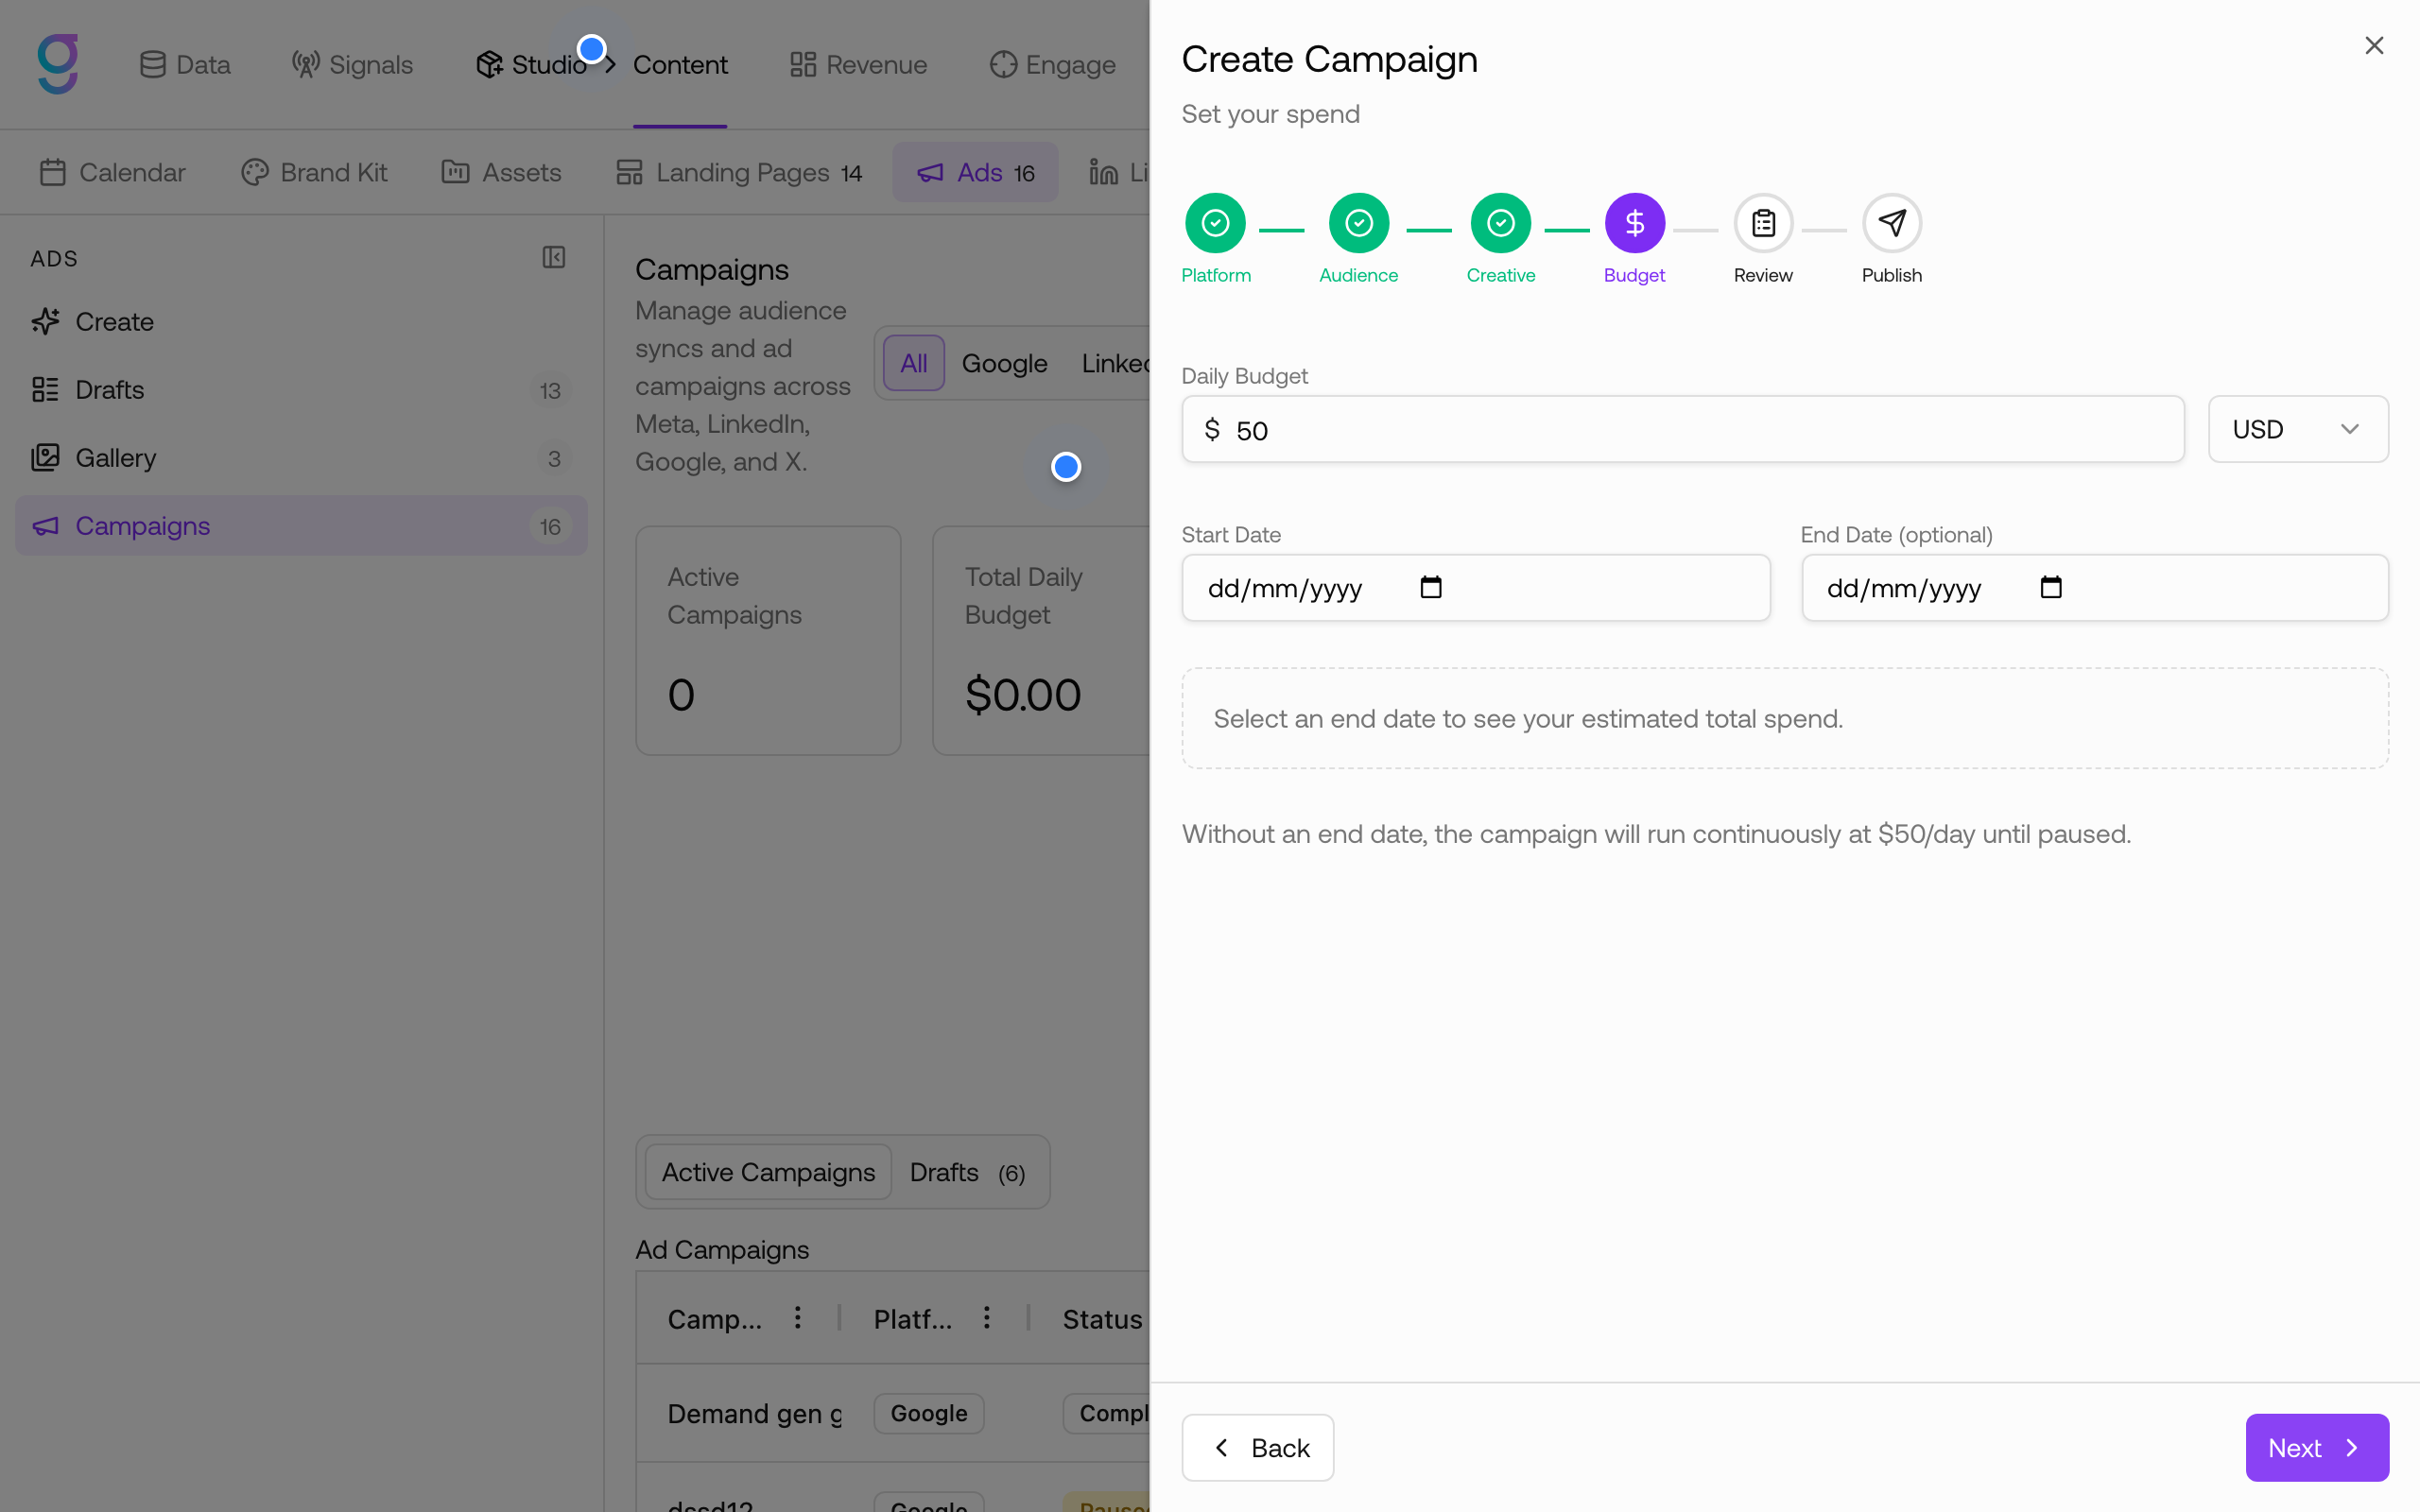
4. Budget
Set your spend:
- Daily Budget and currency (USD, EUR, or GBP)
- Start Date and optional End Date
- Customer Match mode (Google only): choose how the synced audience is applied
- Observation: the campaign serves broadly while Google reports how your matched audience performs
- Targeting: ads serve only to the matched audience
- Exclusion: the matched audience is excluded from the campaign
Without an end date, the campaign runs continuously at your daily budget until paused.
5. Review
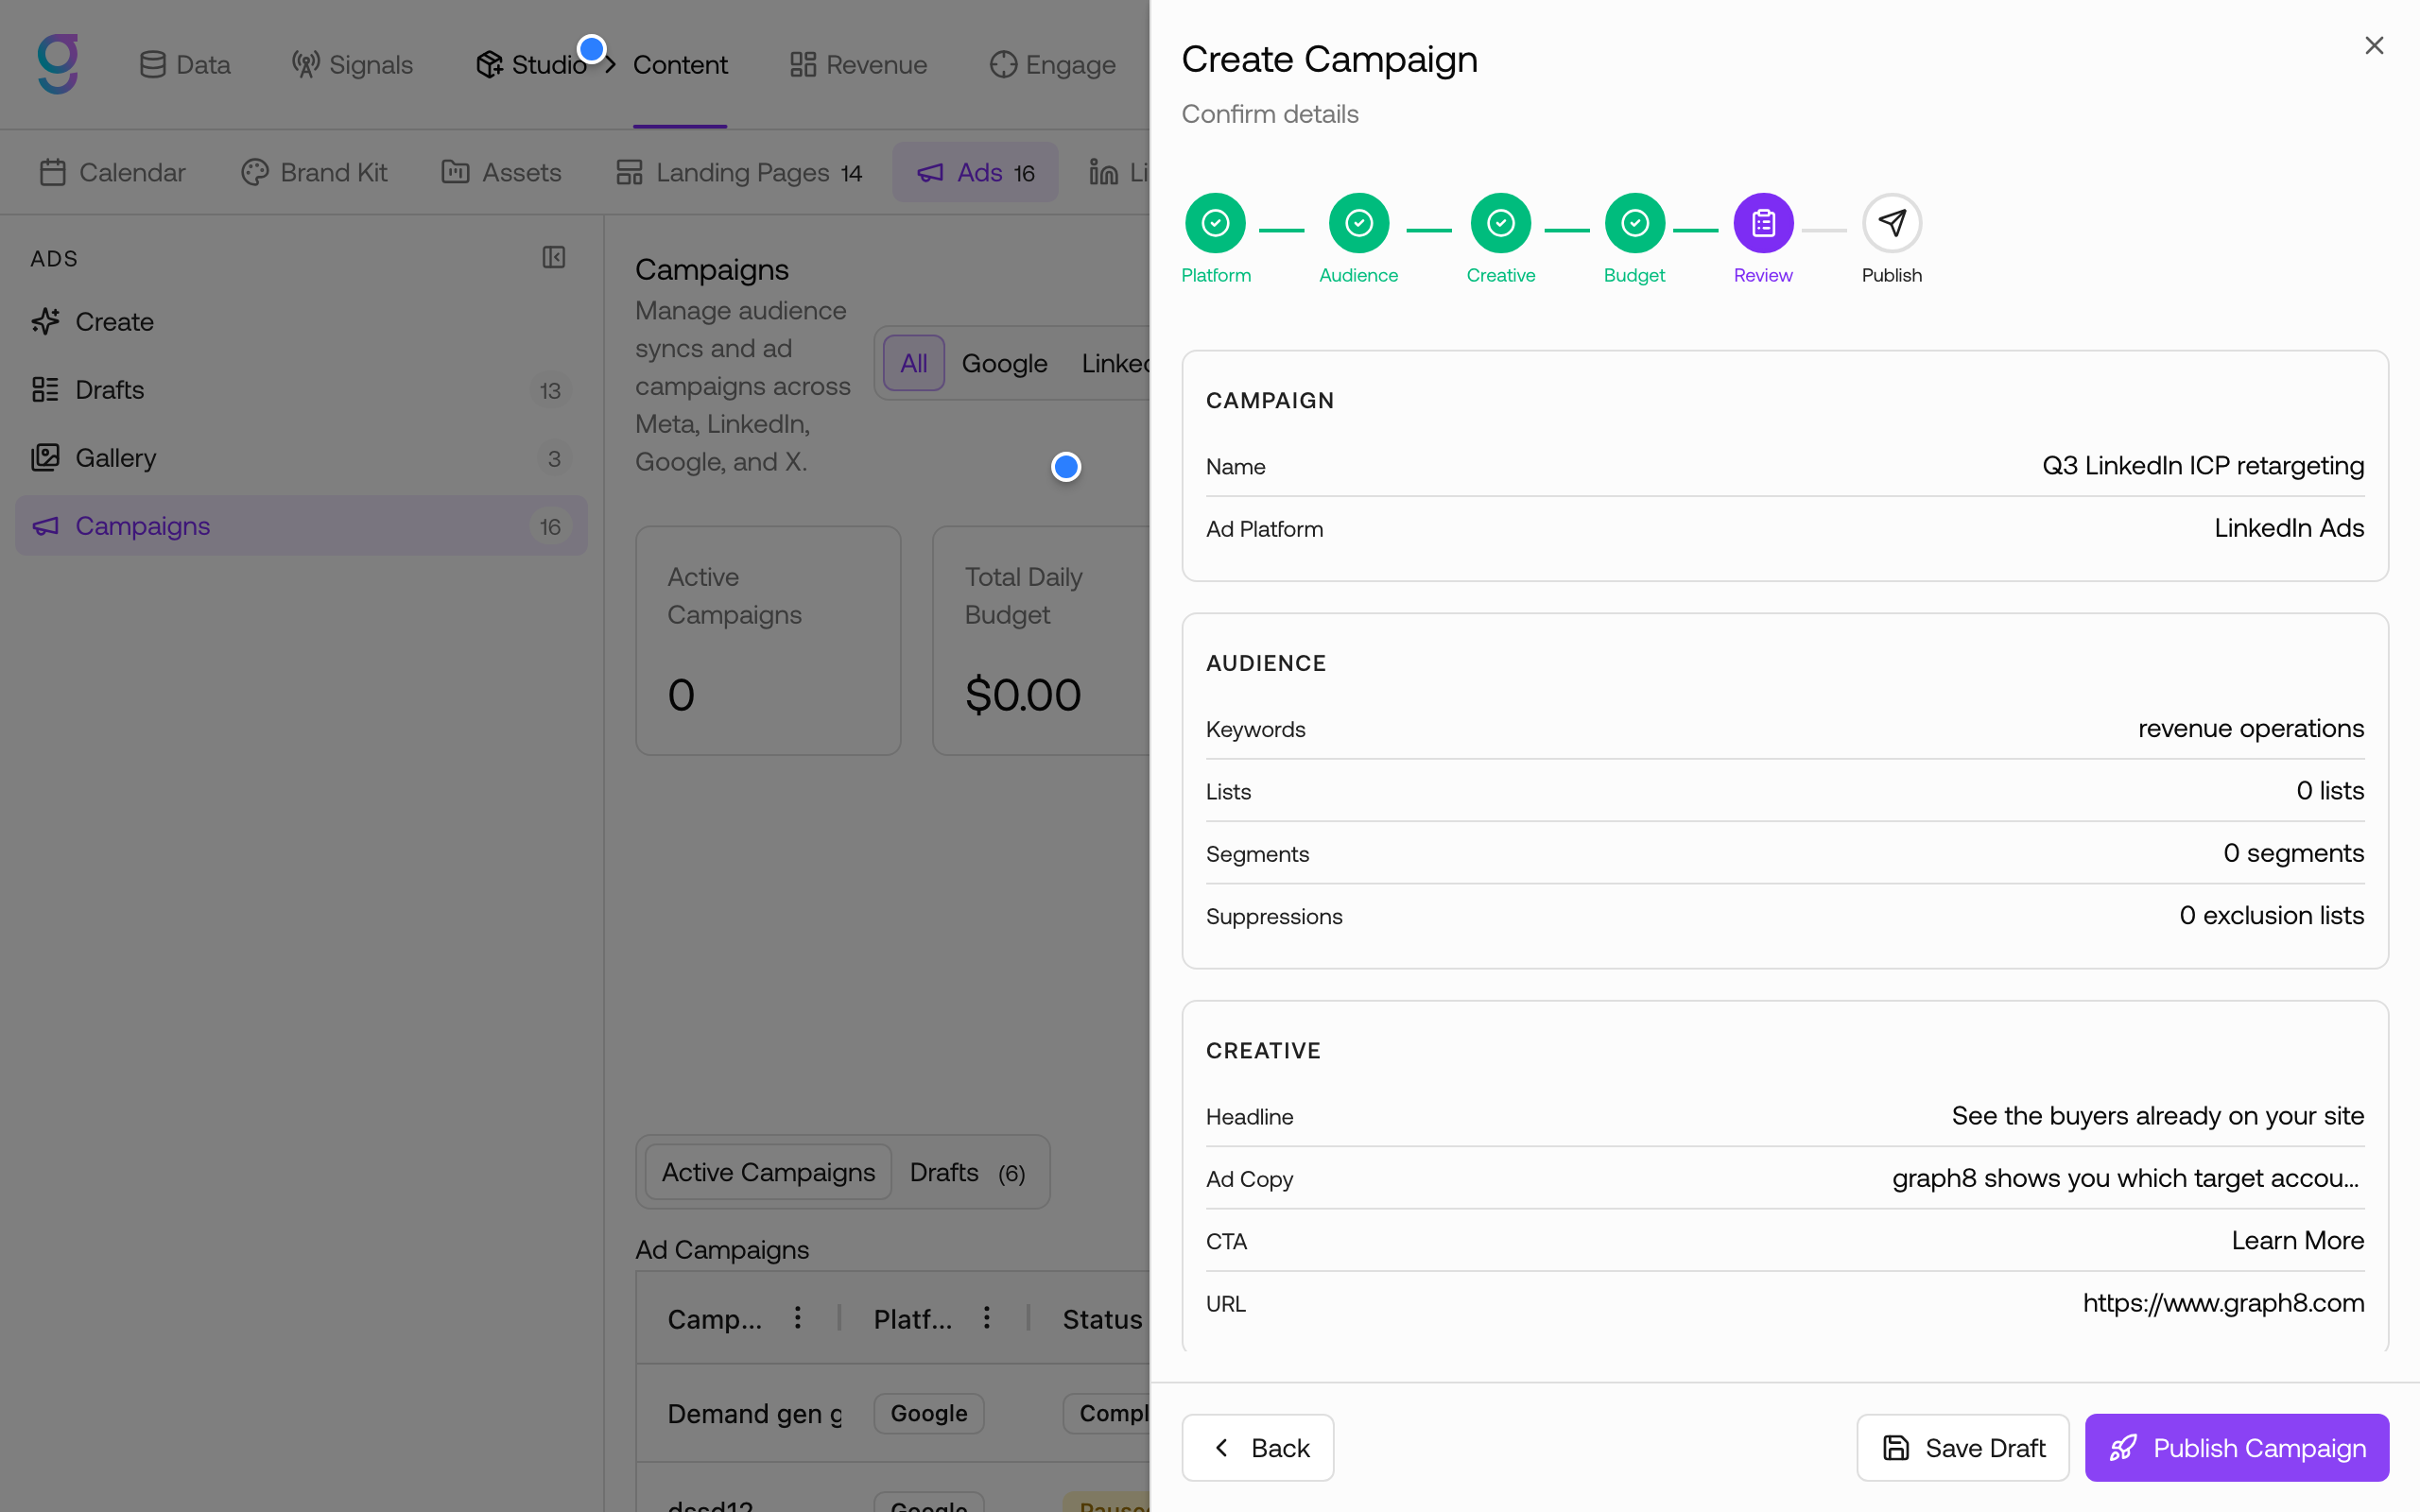
Confirm the summary of campaign, audience, creative, and budget. From here you can:
- Save Draft: store everything without launching (needs Create permission); resume later from the Campaigns tab’s Drafts list
- Publish Campaign: sync the audience and launch the ads on Google (needs Launch permission)
6. Publish
graph8 creates the campaign in your Google Ads account and reports the result. The new campaign appears in the Active Campaigns table with its status, budget, spend, and performance metrics.
Check Your Ads in Google Ads
After publishing, verify the campaign inside Google Ads:
- Sign in at ads.google.com
- Google organizes ads as Account → Campaign → Ad group → Ad
- Open the Campaigns menu to find your campaign by the name you set in graph8, then open Ads to see each ad’s review status in the Status column
Key Google ad statuses:
| Status | Meaning |
|---|---|
| Under review | Google is evaluating the ad; editing an ad restarts its review |
| Eligible | Passed review and can run (the campaign must be active) |
| Disapproved | The ad violates a Google Ads policy and cannot show |
| Not eligible | The campaign is paused or ended, or the ad group is incomplete |
Manage the Campaign from graph8
The Active Campaigns table in Studio → Content → Ads → Campaigns shows each campaign’s platform status (Active, Paused, Pending, Under review, Rejected, Completed, or Failed) alongside budget, spend, impressions, clicks, and CTR. Row actions let you Edit, Pause, Resume, or Delete a campaign (Launch permission required).
Use the Refresh button to pull the latest status and metrics from Google.